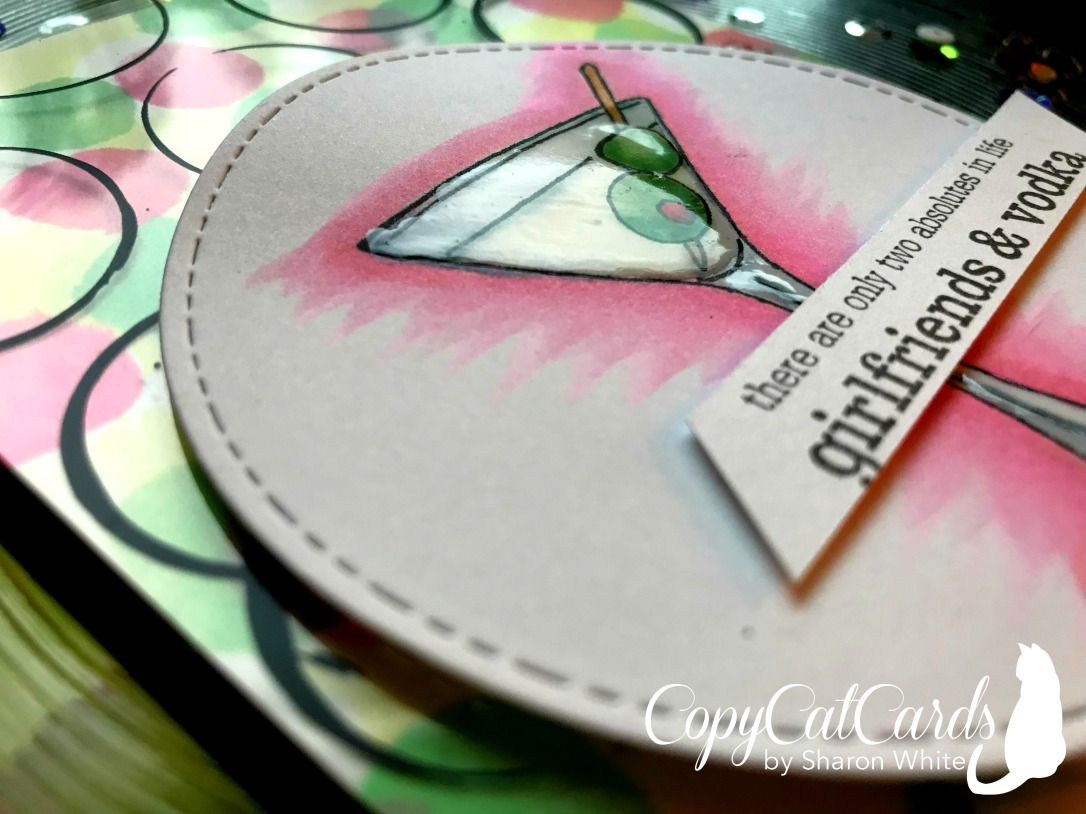
It’s Wednesday and we’re back with some great projects using Clear Toner Sheets! I used mine as an overlay this time for not one, but TWO cards! Now, I’m not a martini lover but when I made this fun background using Brutus Monroe’s Paint Spots stencil and distress oxide inks, the shape and colors made me think of martini’s! I just happen to have Unity Stamps I Like It Dirty stamp set and pulled that out to play! But first, let me tell you how I made the background ; on a panel of watercolor cardstock, I taped down my stencil then sponged over it with Pistachio oxide ink, shifted the stencil, added Squeezed Lemonade then shifted the stencil again and finished with Picked Raspberry! Voila!For the main image, I stamped out the martini glass onto a die-cut circle of cardstock using Raven Detail Ink, then colored it with Zig markers. Next, I added a layer of Crystal Effects glue over the glass to give it shine! I stamped out the funny sentiment onto a scrap of paper, trimmed it down and mounted it with a bit of foam tape.To assemble my card, I trimmed down the Coffee Rings toner sheet to fit my card front and attached it to the dotted background with four pink brads. I then adhered it to my black card base and mounted the big circle to that with another circle of fun foam. I am so tickled with how this card came out! Almost makes me want a martini! 😀How freaking cute is this?! After I completed the card above, I decided to make another background using the Paint Spots stencil! You can’t see much of this one, but here’s how I did it. On a panel of watercolor cardstock, I again taped my stencil down and sponged on Twisted Citron oxide ink, shifted the stencil, added Worn Lipstick and finally another layer of Squeezed Lemonade. I love the look of Emboss Resist so shifted my stencil one more time and using a sponge dauber with Versamark ink, I filled in the spaces. I heat-embossed them with clear powder and the end result was a layer of shiny spots! Next, I heavily sponged Black Soot oxide over the whole panel, then rubbed it off the embossed dots with a paper towel. I die-cut the panel with a stitched circle die and set it aside.On another die-cut circle of white card stock, I stamped the martini glass again but this time colored with Copics! I added some stippled dots around the glass with assorted shades of pink for a little visual interest. I stamped the sentiment directly onto the image. An olive green card base was embossed with a large dots folder, then I die-cut that into a larger circle, keeping one edge flat on the fold.I ran the Coffee Rings Toner Sheet through the Cuttlebug with the smaller circle die and stapled it to the martini glass circle! As you can see, I layered them all together, attaching the layers with adhesive. Finally, I added little pink and green ribbons to the staples for one more detail! Phew! This sounds like it was a lot of work, but it actually took me about half an hour to make, total! I had so much fun making these two cards, and think the Toner Sheet adds a really great dimension! But, just wait till you see what Marie, Berina, and Waleska have made! We’re all going a bit crazy with the new stuff at Brutus Monroe!!


I’ll drink to that 🙂
LikeLiked by 1 person
Hahaha!! I had a feeling you’d like these, Sue!! 😀
LikeLike